By Steel City Appliance Repair
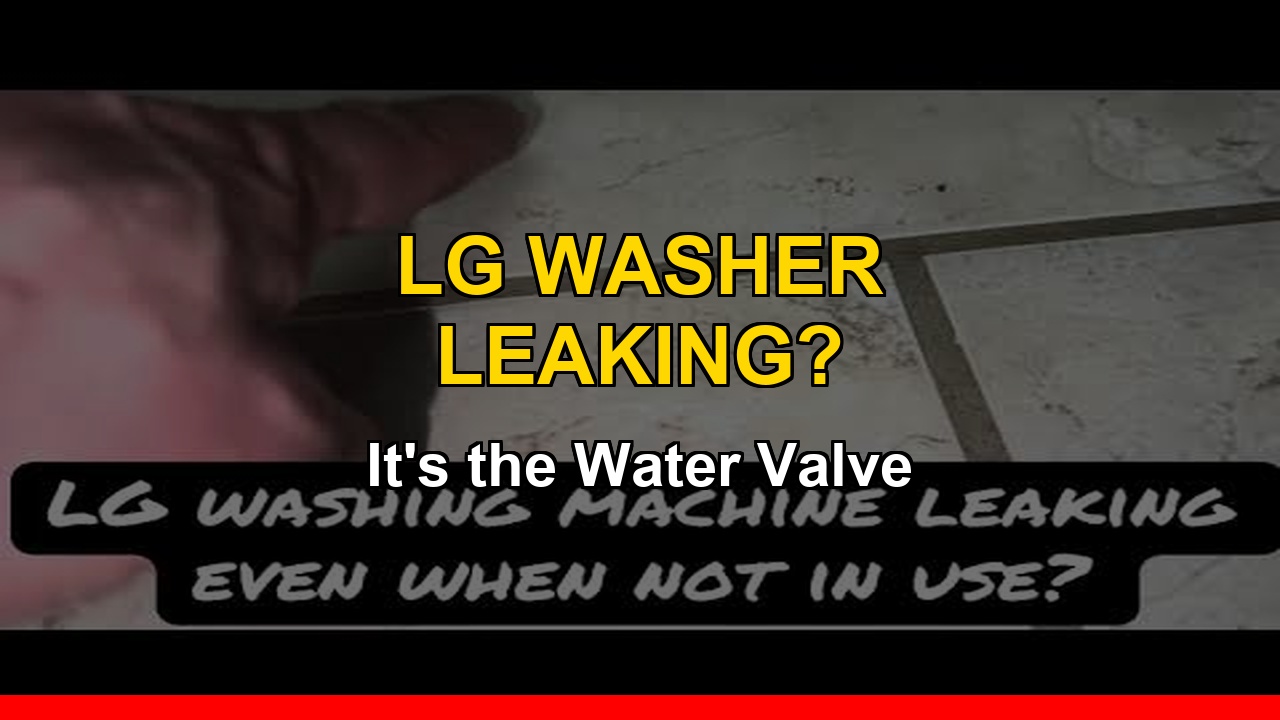
If your LG washer is leaking when turned off, you are not alone — finding water under the machine even when it has not run a load is one of the most common LG washer complaints. Before you panic about a major repair, the culprit is almost always the water inlet valve — and it’s an easy, inexpensive fix you can do yourself in under an hour. This guide walks you through how to access the valve, confirm it’s the source, and swap in a new one.
Why Your LG Washer Is Leaking When Turned Off
The water inlet valve is connected directly to your home’s water supply, so it has water pressure on it at all times — even when the machine is unplugged and idle. When the valve body cracks or its internal seals fail, water seeps out continuously, which is why you see a puddle even when you haven’t run a load. In other words, an LG washer leaking when turned off is almost always pointing you straight at a failing inlet valve. A washer that only leaks during a cycle usually points elsewhere (hoses, pump, tub seal), but a leak that happens while the machine sits unused points squarely at the inlet valve.
First, Rule Out the Hoses
Before replacing anything, check the fill hoses where they connect to the back of the machine. Sometimes a connection has worked loose and simply tightening the hose couplings stops the leak. If the hoses are tight and dry but you still have water, move on to the valve.
Tools & Parts You’ll Need
- LG Water Inlet Valve (check your model #): Amazon link (affiliate link)
- Screwdriver / Nut Driver Set: Amazon link (affiliate link)
- Hose Clamp Pliers: Amazon link (affiliate link)
- Adjustable Wrench (for the fill hose): Amazon link (affiliate link)
Step 1: Unplug the Machine
Always unplug the washer before you start. The water inlet valve carries power whenever the machine is plugged in, so this is a safety must.
Step 2: Remove the Top Panel
There are two screws on the bottom of the top panel at the rear — you do not need to remove the top screws. Take out those two bottom screws, slide the top panel back, then lift it up to gain access to the water valve inside.
Step 3: Confirm the Leak
With the top off, you’ll be able to see the water valve. Look for water leaking from the valve body — that confirms it’s the source.
Step 4: Turn Off the Water and Remove the Hose
Shut off the water supply first, then disconnect the fill hose from the valve.
Step 5: Remove the Valve
There’s a single screw holding the valve assembly in place. Remove it, and the whole piece comes out. The valve then lifts straight up out of its metal bracket — it can be tight, but it does come free.
Step 6: Swap the Three Water Lines One at a Time
The valve has three clamps, one for each water line. Move each line from the old valve to the new valve one at a time — this keeps you from crossing the connections and mixing up the lines.
Step 7: Reassemble and Test
Put the clamps back on, seat the new valve in the metal bracket, secure it, reinstall the screw, reconnect the fill hose, and turn the water back on. Plug the machine in and check for leaks. You should be good to go.
Watch the Full Repair Video
Cost Breakdown
| Item | Cost |
|---|---|
| LG water inlet valve | ~$25–$40 |
| Professional repair call-out | $150–$250 |
| Your savings | $110–$225 |
FAQ
Why does my washer leak only when it’s not in use? Because the inlet valve is always under household water pressure. A failed valve seal drips constantly, independent of whether the machine is running.
Can I just tighten the hoses instead? If the leak is at a loose hose connection, yes. But if water is coming from the valve body itself, the valve must be replaced.
Still Having Issues?
Drop your LG model number in the comments on the video — I respond to every comment as quickly as possible. Subscribe to Steel City Appliance Repair for weekly DIY appliance repair tutorials.
As an Amazon Associate I earn from qualifying purchases. Links above may earn me a small commission at no extra cost to you. This helps support the channel and keeps these tutorials free.